Nailed it or Failed it *Eclairs*
October 3, 2022
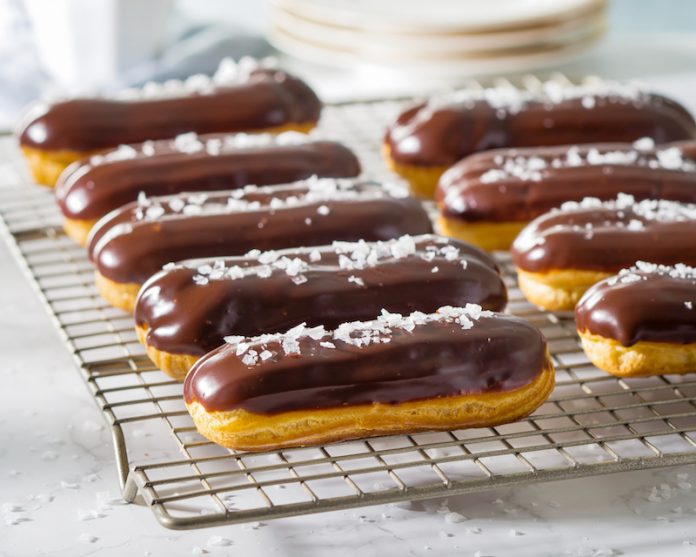
Let’s make eclairs! If you don’t know what eclairs are, they are finger shaped cream puffs filled with custard, pastry cream, or whipped cream usually coated with icing. I don’t really have any prior baking experience other than making box brownies, and I haven’t had an eclair in a while, and kind of forgot what they are and what they taste like. I was extremely nervous at first, and was procrastinating a ton, but I ended up trying anyway, because anything could have happened.
The first thing I did was look at the recipe ten thousand times. I had to build confidence first before I did anything. I got the large saucepan and put in water, butter, salt, and sugar and brought it to a ‘rolling boil’ whatever that means. Once it began to boil, I put in a cup of all purpose flour and stirred it vigorously with a wooden spoon. God, it was an arm workout. Once it was at a good consistency I put it in my stand mixer. I never really knew how many eggs are put into an eclair up until this moment. You first put in one, and then 3 more. What the recipe said was to have the dough fall slowly from the mixing paddle. What really confused me was when I had four eggs, the amount the recipe said to add, it was still rock hard. So I was thinking, what would Claire Shaffits do.. I put in one more egg, it got to the consistency.
Once I was done with mixing, I brought out the pastry bags. This step is pretty much foolproof, you’re just putting the dough in a bag, but somehow this was the hardest step for me. This is where everything takes a turn, and my confidence deteriorates. Why is it so hard to put the dough in the bag, it really shouldn’t be that hard. The bag was sticking to itself, and the dough was getting everywhere, it’s sticky and unpleasant to have on your hands. At one point I just gave up, and stuck with what I have in the bag. I cut off the tip, and get out the baking tray lined with parchment paper. My first little eclair was a little chunky, but my next few were okay, I guess. There was one that I was so proud of, it was perfect, but then there were a few that didn’t even look like an eclair. Once you have all your eclairs you put on an egg wash. The egg wash is kind of an eclair photoshoot in a way… With the brush and the egg wash you can shape your eclair’s size and shape.
Now that we have the eclairs prepped, and done, I put it in the oven. Every single time I looked at the eclairs they looked flaky and cracked. They got nice and fluffy in the oven which was a good sign. I think I messed it up by opening the oven every other minute checking on them. Since I kept opening the oven, the eclairs began to shrink, and they just weren’t light and fluffy like they were before. The timer went off, I took the eclairs out of the oven, and they just look so bad. There was one that was actually perfect, it was the right size and color, and had a hollow dome like shape on the inside
I decided to just review the recipe for the filling.At this point, I was feeling so unconfident, because I failed at making an eclair. So since I was feeling so unconfident, and I just knew that the filling wouldn’t turn out well, I stopped here. The filling would’ve taken over a day to make, because you have to let it chill in the refrigerator, So if it didn’t turn out the way I wanted it, I probably wouldn’t want to bake ever again. I really didn’t want to take the risk, it’s obvious I would’ve failed at making that cream.
I think it’s safe to say that I completely failed at making eclairs. But hey, you can’t go from zero to a hundred all at once. I think next time I do a Nailed it or Failed it, I will do something that’s in my comfort level and much easier for me.


